You Need This to Get Started:
- Install Xamarin Workbooks
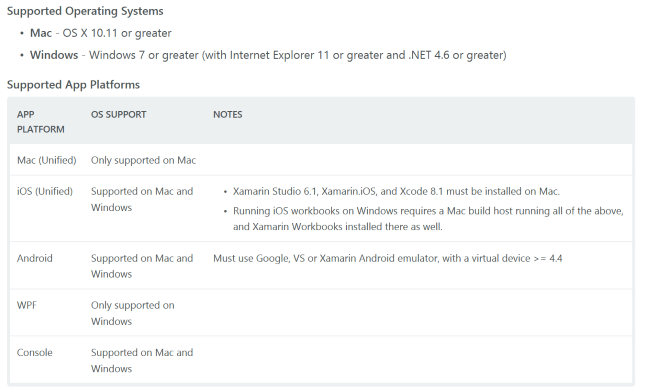
- Meet the requirements below with your Windows or Mac machine:
Let’s Begin with Xamarin Workbooks Samples
The process is quite simple:
- Go to Xamarin Workbooks samples page
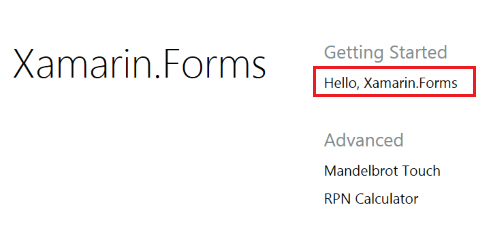
- Scroll down a bit until you notice the list of samples:
- Android
- Azure
- C#
- iOS
- Graphics
- Mac
- WPF
- Xamarin.Forms
- Choose the last one
Then, select Hello Xamarin.Forms and download the sample.
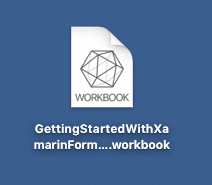
The downloaded file should look like that:
Xamarin Workbook should open, and iOS emulator should be launched automatically. You should see this window:
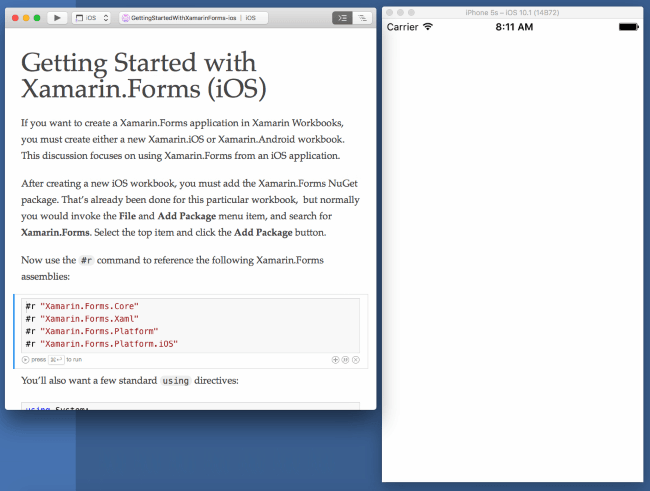
While scrolling down you’ll notice descriptions with code snippets. For me, that’s really useful – instead of explanations I get actual code samples.
There’s more, though.
When you look closer at this small fragment of the code…

… You’ll notice three small icons in the lower right corner. Here’s what they do:
- The plus icon will let you add a new C# code snippet.
- The button in the middle is responsible for adding space for a new description if you’d like to write about what’s happening in a specific fragment of code.
- Pressing the X icon will delete a documentation fragment
You can modify both code samples and the documentation.
Run Selected Code Fragments and See the Results Instantly
With Xamarin Workbooks you can test and check each code snippet instantly.
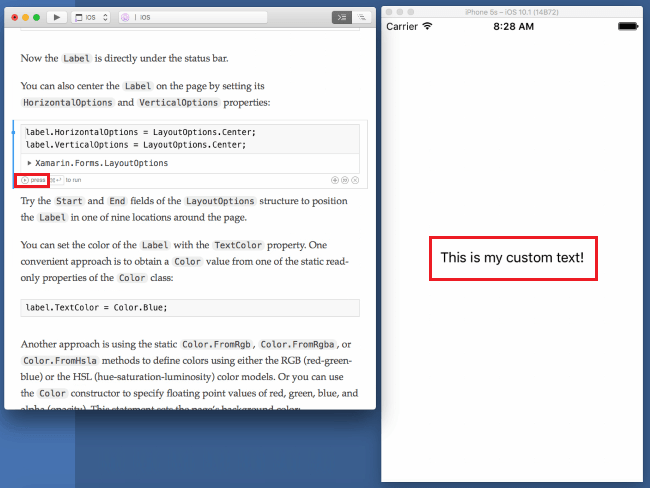
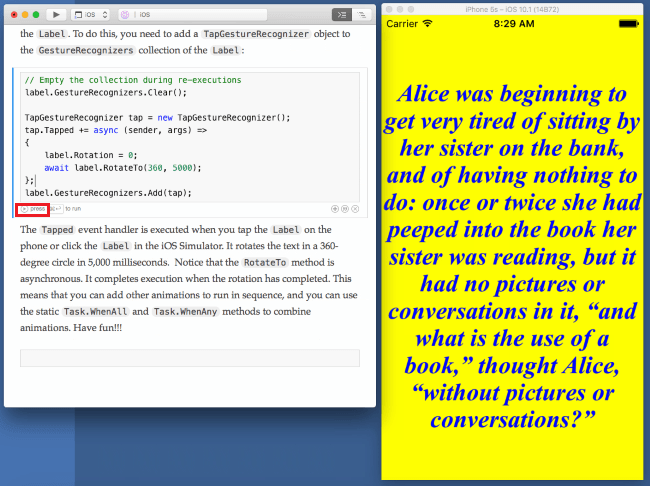
How About Creating Your Own Workbook?
By now you know how to download code samples and experiment with them.
But how about creating your own Workbook? If you’re interested, you can review this documentation. The process is quite simple and supported by IntelliSense so that you can see the hints available in Visual Studio or Xamarin Studio.
Honestly – that’s it!
I hope this short tutorial will make it easier for you to start with Xamarin Workbooks and get your C# game going!


